Orbital sanders are usually versatile power tools that you can count on for your DIY projects. However, to get the most out of them, you must first learn how to use an orbital sander. Acquiring this knowledge will help you choose the appropriate type of sander and the appropriate accessories for each project you undertake. As a result, you will be able to get the most out of your orbit sander. Let’s look at steps to using orbital sanders for DIY projects.
What Are the Main Uses of Orbital Sanders?
1. Removing paints
Most refurbishing projects include the removal of paints. Orbital sanders can help you since it’s one of their more typical applications. So, as a DIYer, you can use an orbital sander to prepare surfaces for painting by removing existing paint.
2. Refinishing hardwood floors
Using an orbital sander greatly simplifies the process of refinishing hardwood floors. Using the proper grit sandpaper, you can get rid of surface scratches or previous finish. You may then use finer grit as you go on, smoothing the floor even more.
3. Creating smooth furniture
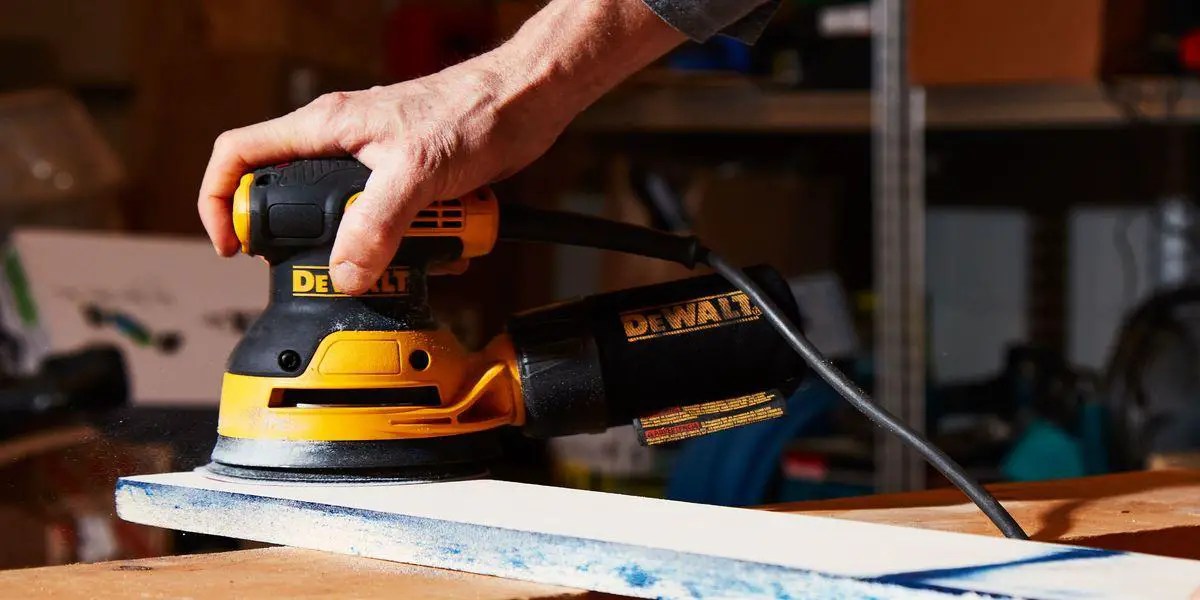
You don’t have to be a pro to use an orbital sander on furniture. Random orbital sanders are ideal for wood furniture since they do not leave circular streaks. In addition, orbital sanders can give your furniture the smooth surfaces it needs for staining or painting, whether building or repairing it.
Steps on How to Use an Orbital Sander
Step 1: Gather materials
Using clamps, secure your material to a work surface. This ensures the material you plan to work on is not moving and potentially generating a dangerous kickback. Then, connect a ventilation system to your sander after securing your material. This will gather the sawdust that builds up while you work.
Step 2: Attach sandpaper
Ensure that the grit you select is right for your job. For example, finer grits, such as 180 and 220, produce a smooth finish, but it might take a long time to achieve. Conversely, coarse grits, such as 40 and 60, usually sand quickly and are ideal for materials that require intensive sanding, like those with a rough finish or grooves that you need to remove. Also, coarse grit might create nicks on smooth boards that don’t require much sanding.
Attach the sandpaper to the sander once you have decided on the grit level you want to start with. Most orbital sandpaper has an adhesive backing. So, peel the backing off and place it on your sander.
Step 3: Start sanding
Start the sander. Allow it to get to maximum speed before placing it gently on your material. Begin sliding the sander along the wood grain for a smooth finish. With even pressure, gently guide the sander. Avoid pressing too firmly, or else your material may nick or dent.
Step 4: Finish up sanding
Sand the material’s edges by draping a third of the sanding pad over the wood’s edge. Turn off the sander after the area, and the edges are finished. Using a clean tack cloth, remove any remaining sawdust. (We recommend using an orbital sander with a vacuum attachment to avoid dust accumulation). If desired, attach finer grit sandpaper and repeat the process.
What Are the Parts of an Orbital Sander?
i). Power switch
This switch is meant for turning the sander on and off. First, ensure that the sander is plugged in or that the battery is fully charged.
ii). Body
The body hosts the motor of the orbital sander. It’sIt’s also known as the barrel grip since most orbital sanders have a narrow body that you can use to hold and control the tool’s movement rather than the palm grip or D-handle.
iii). Palm grip
Like on a palm sander, the top of the sander is referred to as the palm grip. You use the palm grip to control the movement of the sander by holding on to your hand.
iv). D-Handle
This is a secondary handle located on the rear of the sander. This part’s name, D-handle, refers to the form of the handle. Besides, a D-handle is not standard on all orbital sanders.
v). Sanding pad
It’s usually located at the sander’s base. The sanding pad moves in an oval orbit around the sander’s Z-axis and rotates to create a random orbital movement. Attach a sanding disc to the sanding pad to sand or strip material.
vi). Lip seal
A lip seal is a rubber seal that connects the sander’s body to the sanding pad. It usually prevents sawdust from entering the device’s internal motor.
vii). Battery
If the sander is battery-powered rather than corded, it will include a rechargeable battery that’s removable and recharged when the tool runs out of power.
viii). Power cable
Connect this cable to an accessible electrical outlet to power the sander.
ix). Dustbag
Some orbital sanders come with a dust bag to collect sawdust, metal shavings, and other debris generated by the sander.