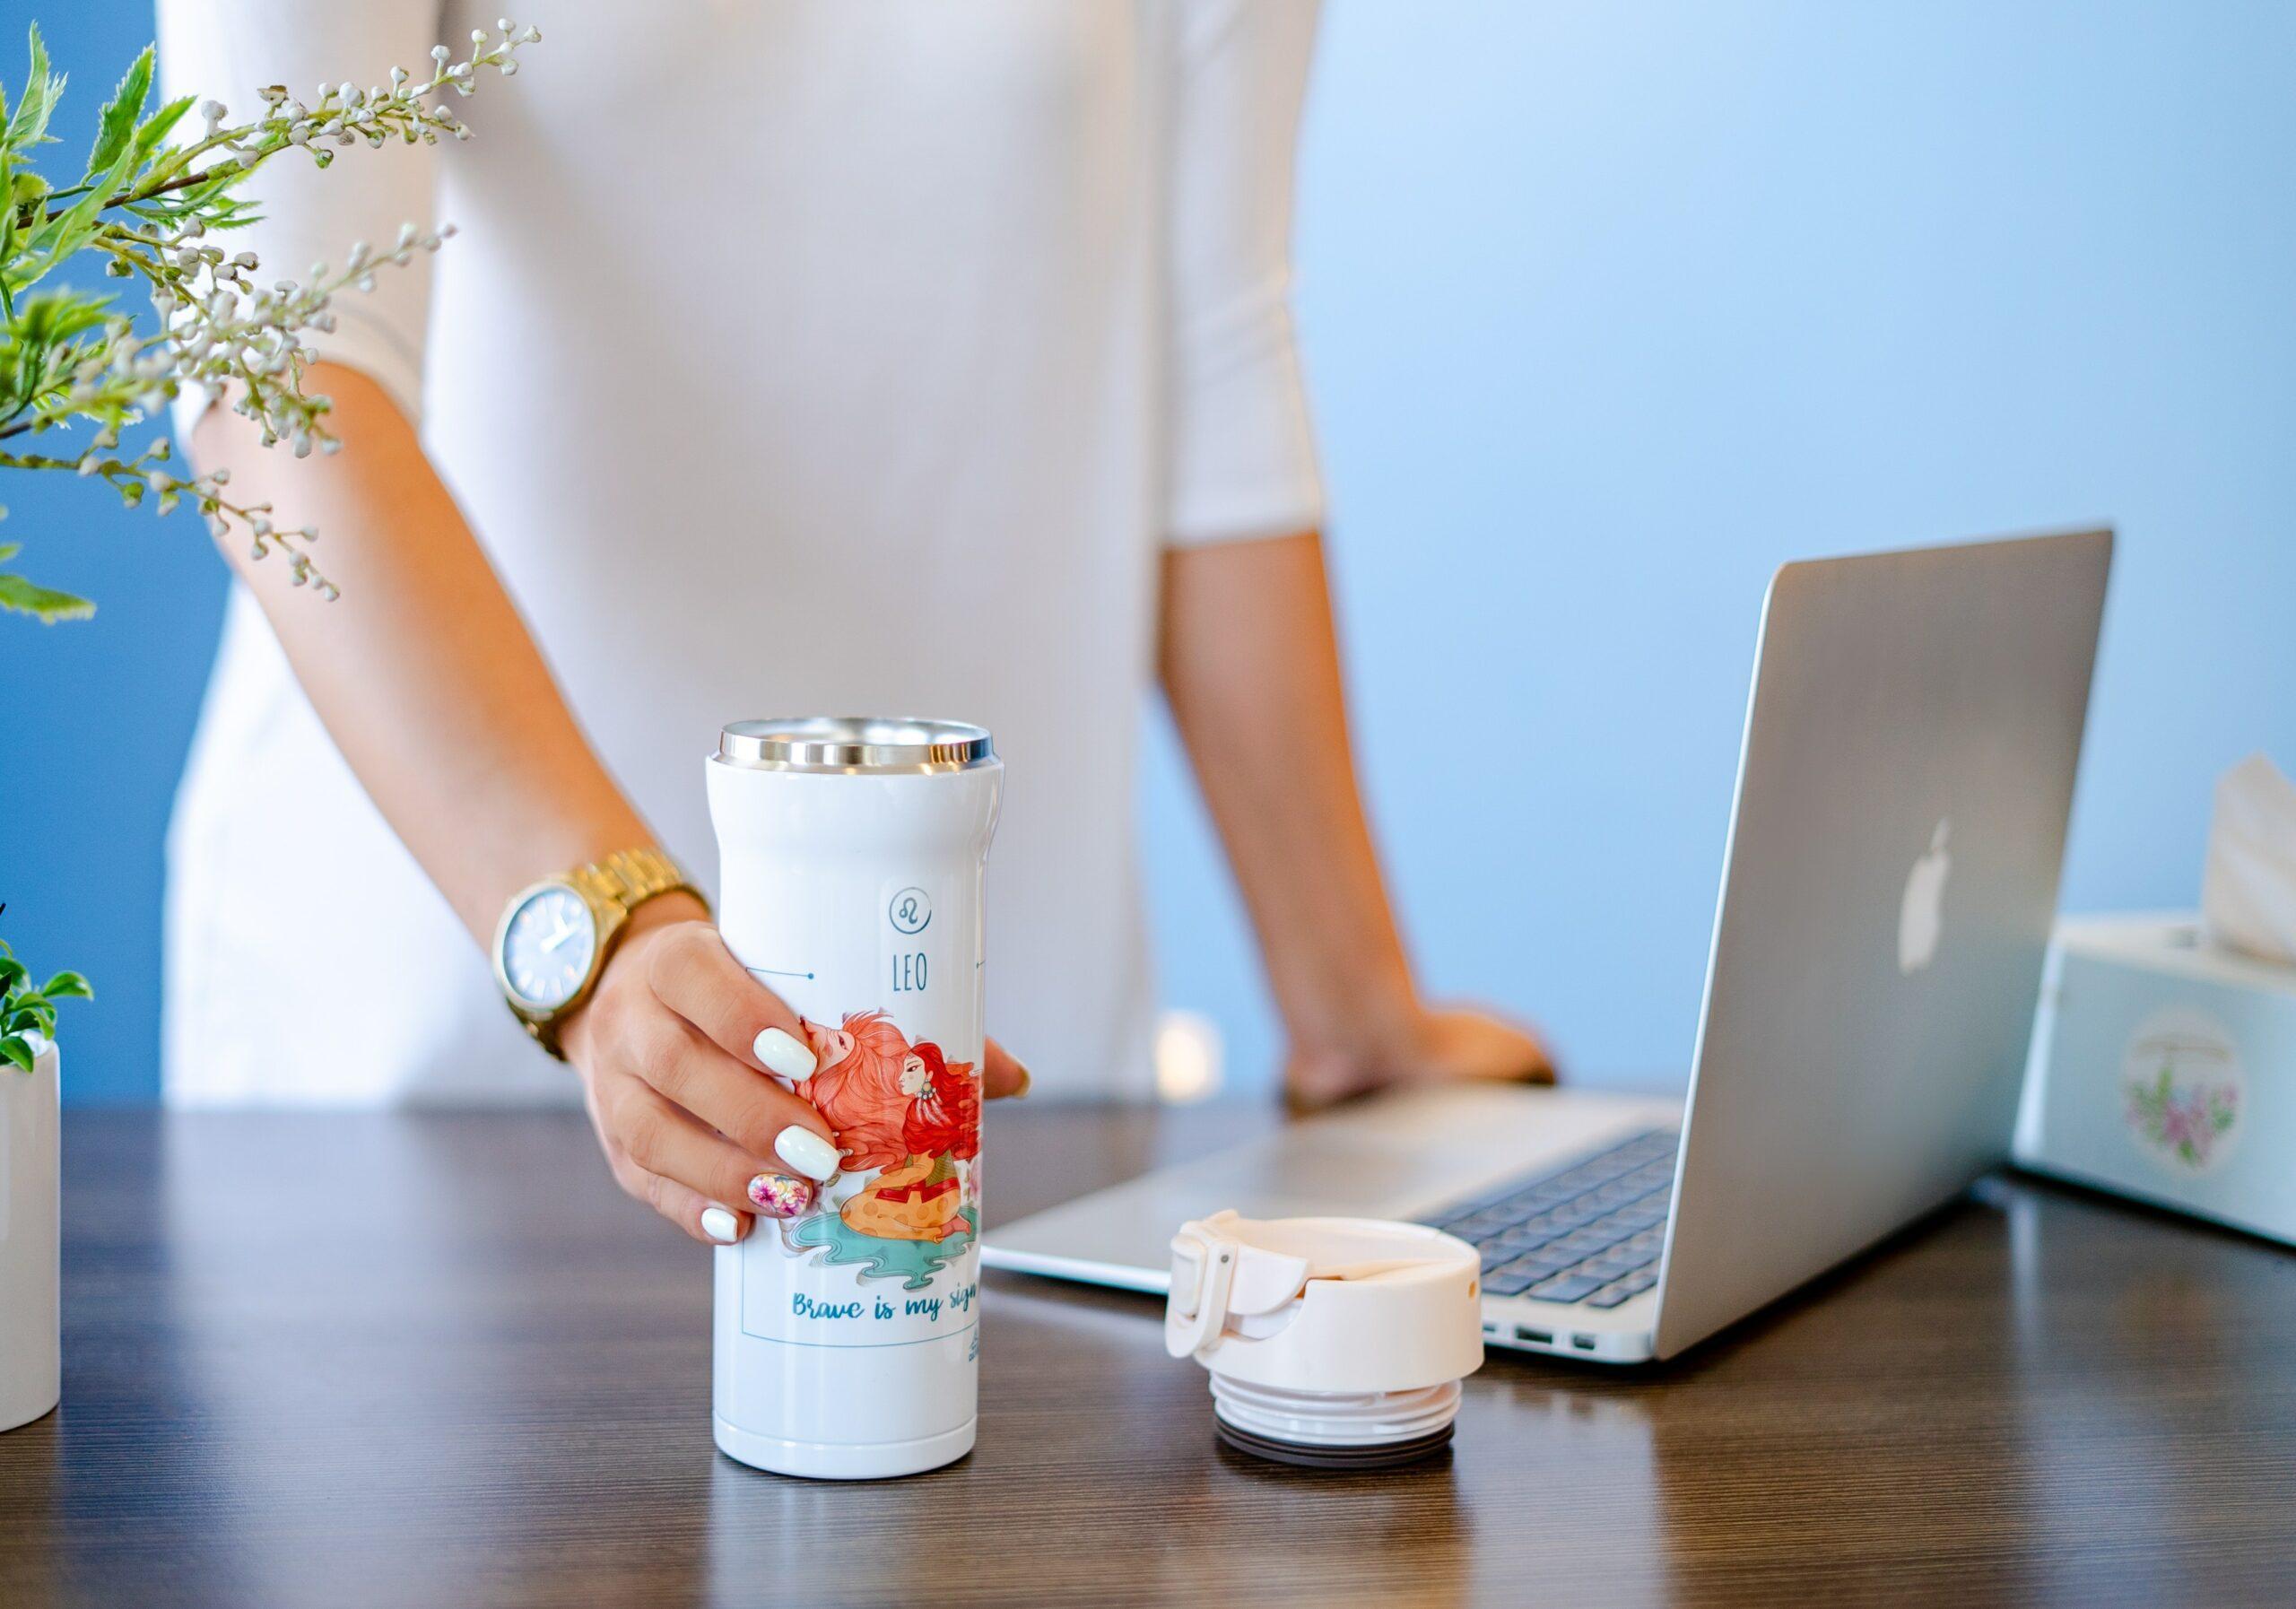
The easiest way to get a smooth epoxy finish on a tumbler is to use the right amount of epoxy and to follow the following steps to the letter.
The last thing you want is to feel some bumps on your epoxy tumbler after putting in all that energy and effort to make it. So, therefore, we’ll show you the steps to follow so that you can get a smooth finish every time.
Let’s begin.
Steps to Follow for a Smooth Epoxy Finish on Tumbler
1. Choose A Good Epoxy Resin
The best way to ensure that you get a smooth finish is to use the best epoxy for tumblers. Although there are many epoxy resins on the market, not all of them are suitable for tumblers, and not all will give you a smooth finish.
Another thing to consider when choosing an epoxy resin is that it should be food safe. This is because you’re dealing with a tumbler that you’ll use for drinking.
2. Choose the Right Work Station
Although this point may seem obvious, it’s not. The right workstation is one that is well-ventilated and away from falling objects or particles.
You don’t want any particles or dust falling on your epoxy resin before it cures, as this will not give you a smooth finish.
Also, ensure that you wear protective gloves before you start mixing and applying your epoxy resin. You can tape off the rim of the tumbler to avoid resin getting onto that part, as you’ll be using this part for drinking.
3. Measure and Mix Epoxy Resin
The next step is to measure the epoxy resin before you begin. You need to measure the right amount of epoxy to avoid the formation of fisheyes and divots. So, how much epoxy resin do you need?
For a typical 20 oz tumbler, you’ll need 10 ml of epoxy resin. This is 5 ml of A-side epoxy and 5 ml of B-side epoxy. Therefore, you’ll measure 5 ml of A-side epoxy resin into a clean measuring cup and 5 ml of B-side epoxy resin into a different measuring cup.
You’ll note that the A-side epoxy resin will be thicker than the B-side epoxy resin. Once you’re done measuring, take the A-side epoxy and pour it into a clean mixing cup.
Once you’re sure that you’ve got everything out, take the B-side epoxy and add it to the A-side epoxy. You can use a clean and fresh popsicle stick to ensure that you get everything out.
Mix the epoxy mixture until it’s clear. It may be cloudy initially, but don’t stop mixing until it’s clear.
4. Apply the Epoxy Resin
This is the part you’ve been waiting for and one that will determine whether you get a smooth finish or not. Set your tumbler on the cup spinner and allow it to spin slowly.
Once you’re sure you’re ready to begin, slowly pour the epoxy resin mixture from the mixing cup onto the rotating tumbler. You can either use your gloved hand to spread the epoxy resin or use a soft brush evenly.
Once you’re done pouring the resin, leave the tumbler spinning for about 10 minutes. After that, remove the tape on the rim because you don’t want the epoxy to stick on it. Once the tap is out, leave the tumbler spinning for another 6-8 hours to allow the resin to cure and dry.
5. Sand Gently
Remove the tumbler from the tumbler spinner and check if it’s still sticky. If it is, let it continue drying for a bit before you sand it.
Once you’re sure that it’s dry, use 180-220 grit sandpaper to gently sand down the tumbler. This is where you smooth down any bumpy spots (although there shouldn’t be any if you were careful in the steps above) and imperfections.
Don’t worry if the tumbler gets scratched a bit or looks dull. We’ll fix this with another coat of epoxy. Once you’re done sanding, take a cotton ball dipped in a good quality alcohol and wipe down your sanded tumbler.
Add a vinyl decal and put the tumbler back on the spinner for a second epoxy coat.
6. Add A Second Epoxy Layer
The second layer is meant to seal in the vinyl. Tape off the edges of your tumbler before you apply the second layer and mix the epoxy resins as we did in step 3.
Follow the same procedure in steps 3 and 4 and leave the tumbler to spin for another 6-8 hours. If after the 8 hours it still isn’t dry to your satisfaction, leave it to continue drying until you’re satisfied.
Conclusion
Are you happy with this guide on how to get a smooth epoxy finish on your tumbler? Remember to choose a workplace that is well-ventilated and free from falling particles that can cause you to get a bumpy finish.


