With an orbital floor sander, you don’t need to hire a professional to sand down the hardwood so you can apply a finish or renew a finish. Though sanding a floor using an orbital sander or a palm sander might take longer to finish the project, with the right preparation, for an average-sized house may be less than a weekend project. Here’s how to use an orbital floor sander to sand down your hardwood floor effectively.
When Do I Need to Use an Orbital Sander?
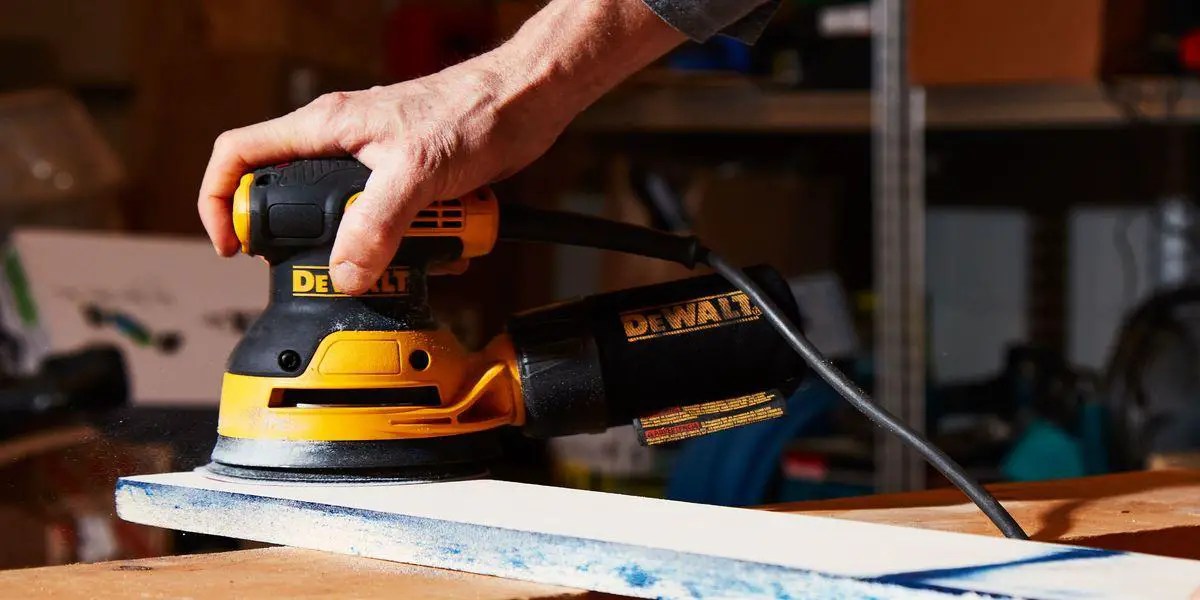
Orbital sanders are an excellent tool for DIYing a hardwood floor. The best thing is they leave fewer swirl marks, smooth out rough surfaces, and require little to no experience to use. The traditional method would be to hire a drum sander, but they’re expensive and require a certain level of expertise to operate.
Conversely, an orbital sander is a less expensive option. It removes old finishes like drum sanders do, though it takes longer. And unlike a drum sander, which requires you to move with the grain, an orbital sander does not. So now that we know when to use an orbital sander let’s check out the steps on how to use an orbital floor sander.
Steps on How to Use an Orbital Floor Sander
Step1: Prepare the floor
First, prepare the room where you will be sanding the floor. Remember that sanding wood usually makes a huge mess because dust gets everywhere. Therefore, you must remove all furniture and fixtures from the room. You should also remove all curtains and fabrics from the room. And if removing certain items, such as fixed curtains, isn’t an option, covering them with plastic bags is the best alternative. Conversely, use safety goggles, dust masks, earbuds and gloves to ensure that the dust doesn’t affect you.
Step 2: Determine the thickness of the floor.
To be able to sand as many times as you want, your hardwood flooring must be at least.75-inch thick. If the floor thickness is less than 75 inches, you may not want to take the risk since you may end up causing more damage to the floor. We recommend hiring a professional if the hardwood floor is less than 75 inches.
Step 3: Choose the right sandpaper
Go for sandpaper for your orbital sander, and that meets your needs. For example, when refinishing an old floor, you first need to remove the old stain, paint, or varnish. In that case, you need to use fairly coarse sandpaper. A minimum of 20 grit is ideal for removing paint, and a minimum of 36 grit is ideal for removing shellac and varnish. As you progress, you can use finer sandpaper for a smoother finish. So, you’ll need to buy a variety of sandpaper to finish this project.
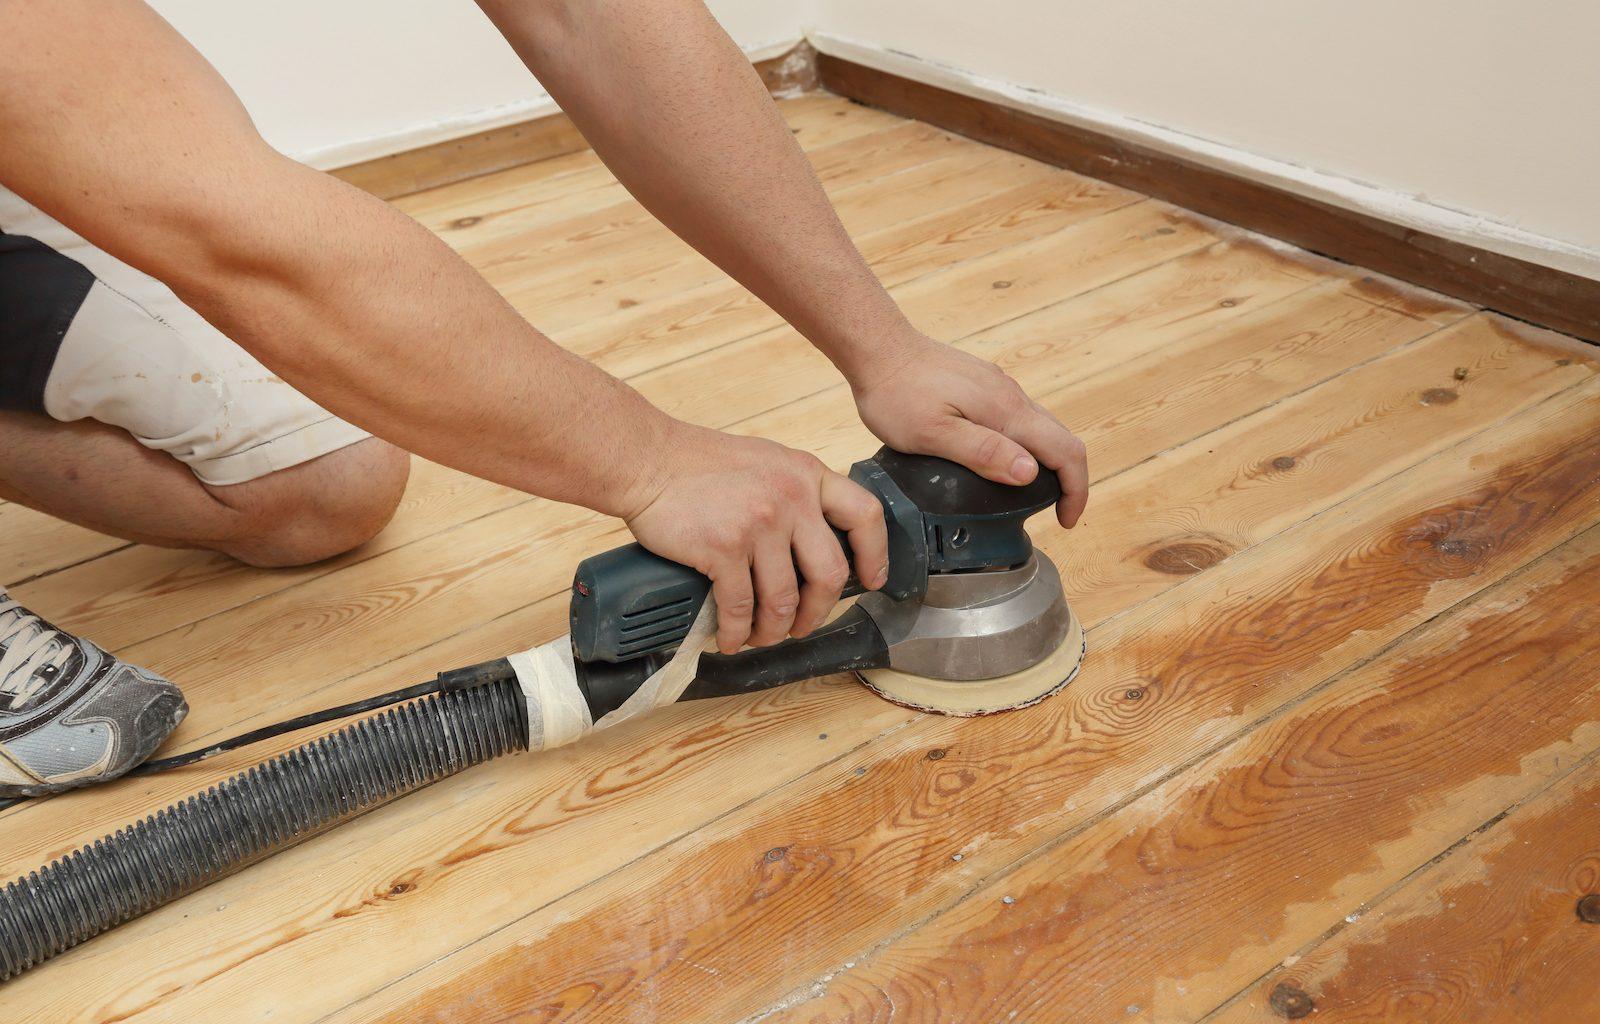
Step 4: Actual sanding
Compare sanding your floor to mowing your lawn. Start your orbital sander with the coarsest grit you have and work your way across the floor, sanding row by row and overlapping the rows to avoid missing any spots. Sand the entire floor in organized rows until you finish the first round. After removing the old paint, shellac, or varnish with the coarse sandpaper, use finer sandpaper to achieve a smoother finish. After the second round of sanding, switch to the finest grit of sandpaper and sand a third to achieve the best results.
Step 5: Vacuum and wipe the dust
Sanding a floor usually generates a lot of sawdust. So, before you can finish the floor, you must clean this. Get a good vacuum and suck up all the dust you can find. Besides, you can use an orbital sander with a vacuum attachment. You will also need to mop the floor or use a wet cloth to pick up any remaining dust.
Step 6: Seal and finish the floor
Lastly, seal the floor before finishing. Though high-quality hardwood floors don’t need to be sealed, if it’s a high traffic area and you want the floor to last longer, then sealing is recommendable. So, if you decide to seal the floor, use an oil-based polyurethane sealer rather than a water-based one. Again, wear gloves because they may irritate some skin types. Also, ensure that the sealer is spread evenly.
Tips to Follow When Sanding Your Floor
- Avoid using fine-grit sandpaper because it will take far too long to remove old paint, shellac or varnish. When removing old stains on your floor, always start with coarse sandpaper and work your way up to finer sandpaper.
- When sanding, always wear a respirator or a proper face mask. You don’t want to inhale that dust because it’s poisonous.
- Never seal your floor before cleaning away all of the dust created during the sanding process.
- Ensure all the windows are open. It’s best to sand and seal in well-ventilated areas.